

How to Bind a Quilt
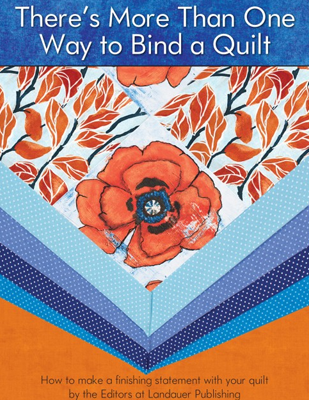
Excerpt from There’s More Than One Way to Bind a Quilt
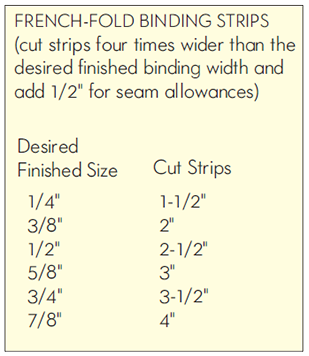
The last step in any quilt is to cover the raw edges with binding. The example below shows the most common type of binding; French-fold or double-fold binding. The double layer of fabric protects the edges of the quilt, making it more durable. All binding strips—French-fold, single-fold, bias—can be joined into one continuous strip using this method.
Although the method below is one of the easiest ways to bind a quilt, There’s More Than One Way to Bind a Quilt! This guidebook is easy-to-follow and will give you creative new ways to put a finishing touch on quilts of any size.
New Quilting Titles
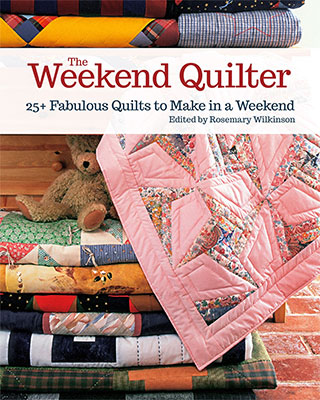
The Weekend Quilter
The Weekend Quilter is the perfect book for those who love to quilt, but don’t have time for long, laborious projects. Featuring 26 step-by-step projects for traditional and modern quilts that are easy to make in a weekend, create beautiful patchwork designs using a rotary cutter and sewing machine. Learn specialist shortcuts from five different artists and become a weekend quilter!
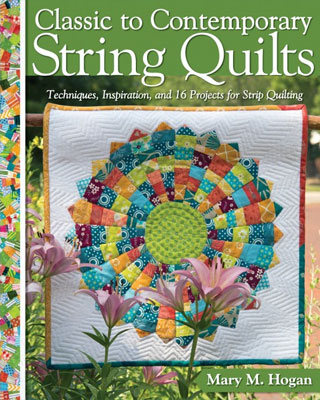
Classic to Contemporary String Quilts
From wall hangings to full-size bed quilts, these 14 fun stash-busting projects take string quilts in a new direction. Mary M. Hogan uses strips and scraps of fabric to re-imagine traditional and beloved quilt blocks as string blocks.
Super-Quick Colorful Quilts
Great for beginners, perfect for quilters in a hurry, here are 35 quick step-by-step quilt projects in a kaleidoscope of colors. Ranging from wall hangings to throws to bedcovers, each is made with simple shapes, easy piecing, and fast finishing techniques.
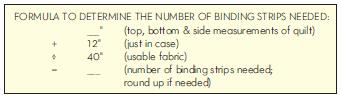
To calculate the number of binding strips needed for your quilt, add the four outside measurements of the quilt plus 12″. Divide that number by 40″ (usable fabric) to determine how many binding strips are needed.
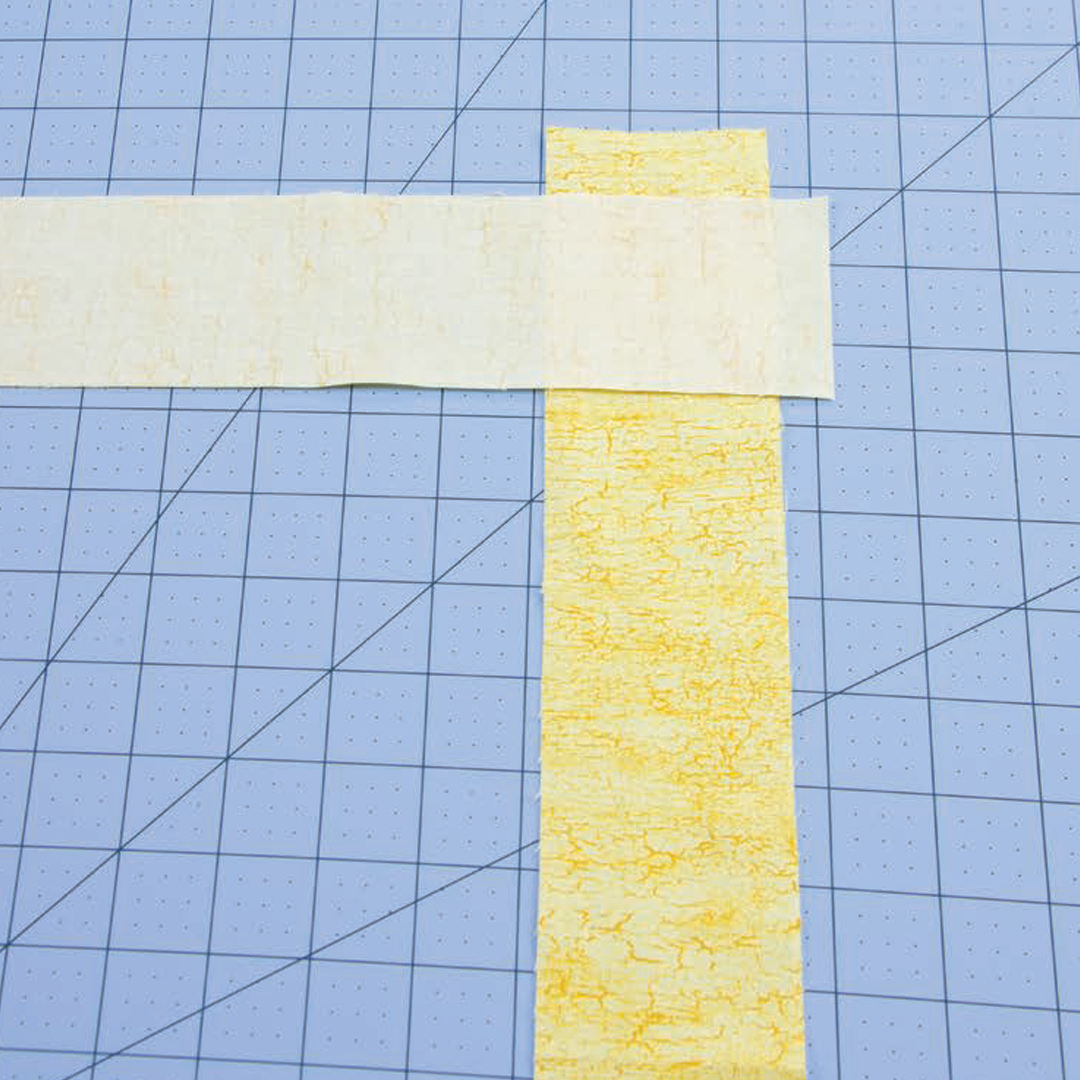
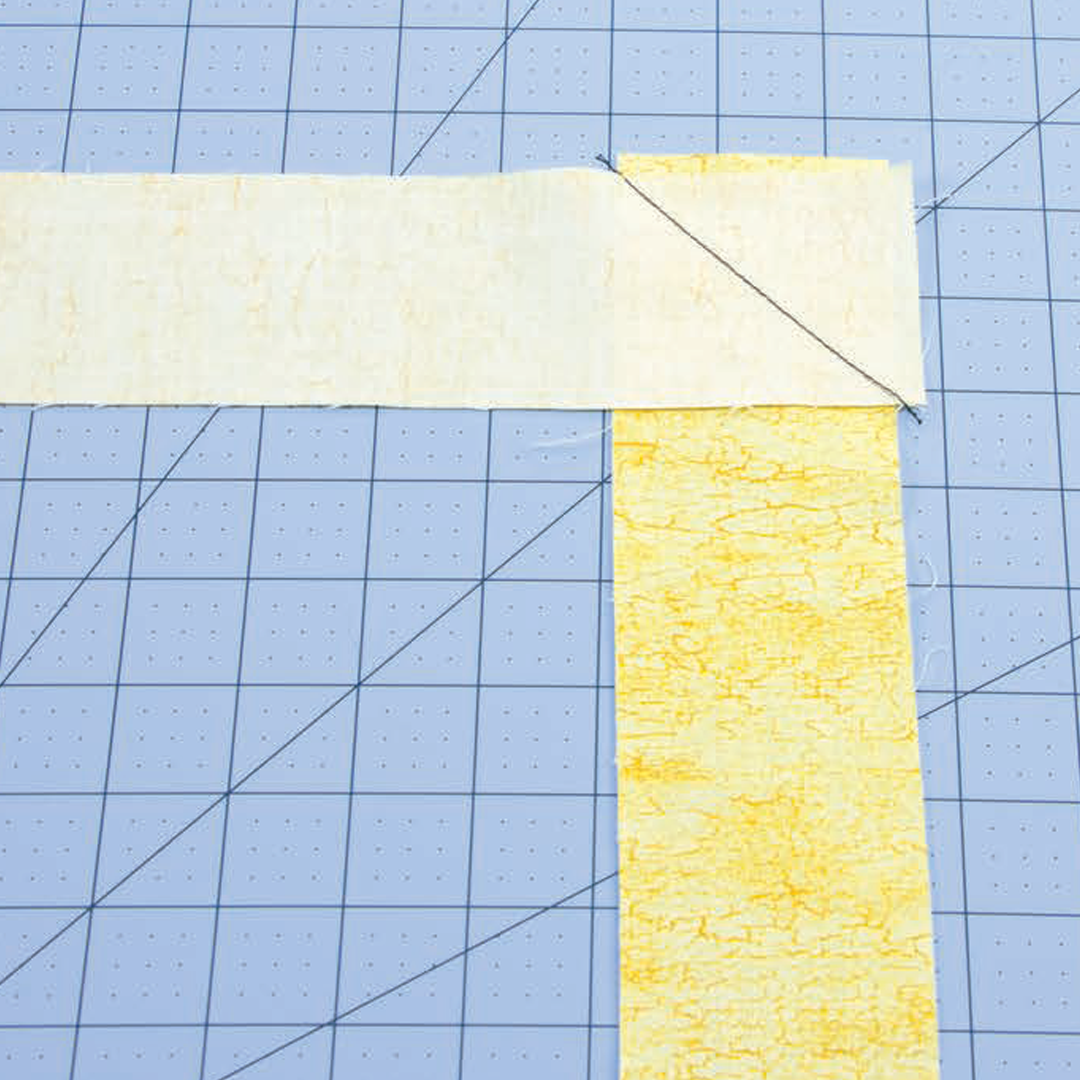
Step 1: To make one continuous binding strip, lay one strip, right side up on a flat surface. Place a second strip, wrong side up, perpendicular and to the left over the first strip.
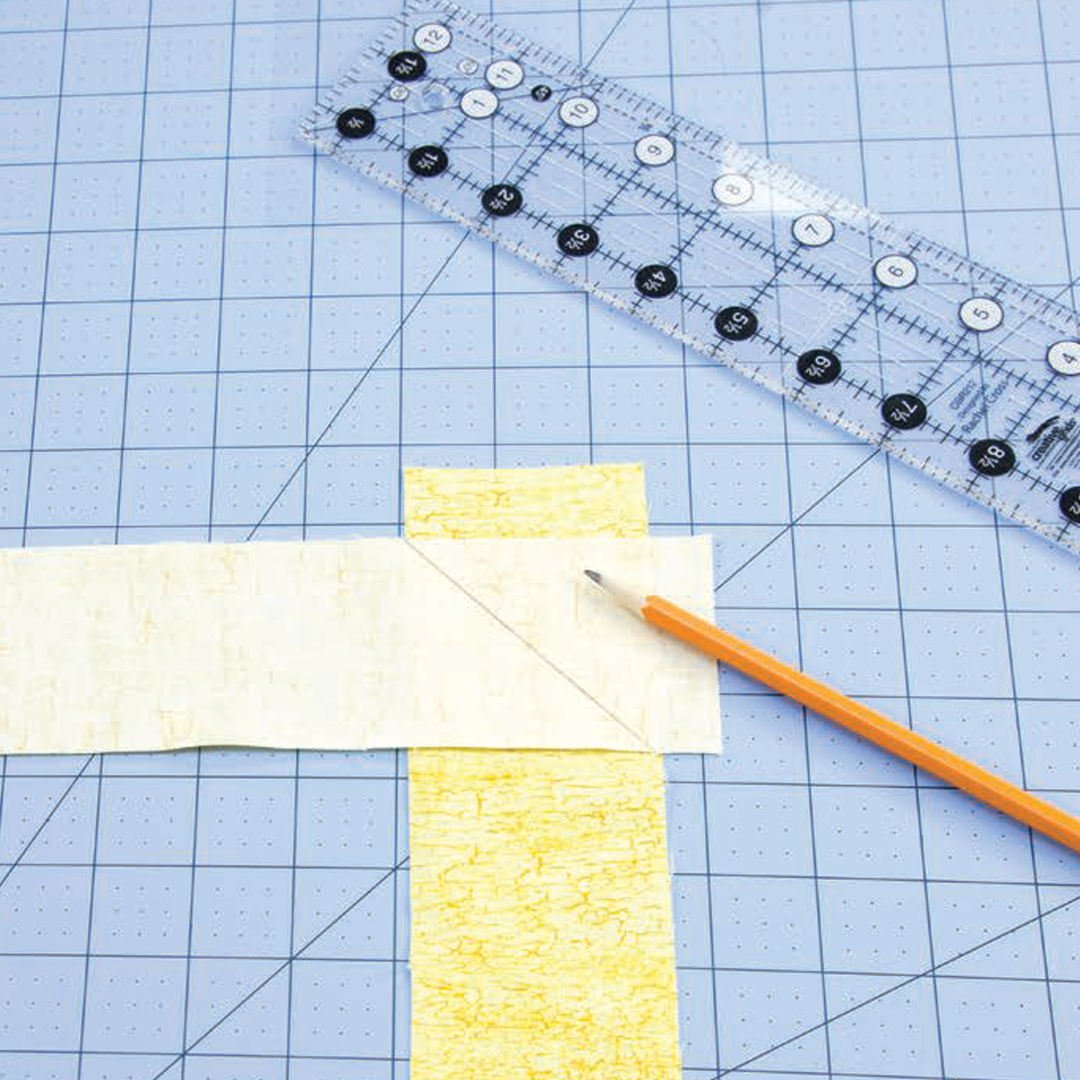
Step 2: Using a ruler and sharp pencil or marking tool, draw a diagonal line on the top strip from corner to corner beginning at the bottom right corner where the strips meet.
Step 3: Sew on the drawn line. Note: A contrasting thread was used for illustration purposes.!
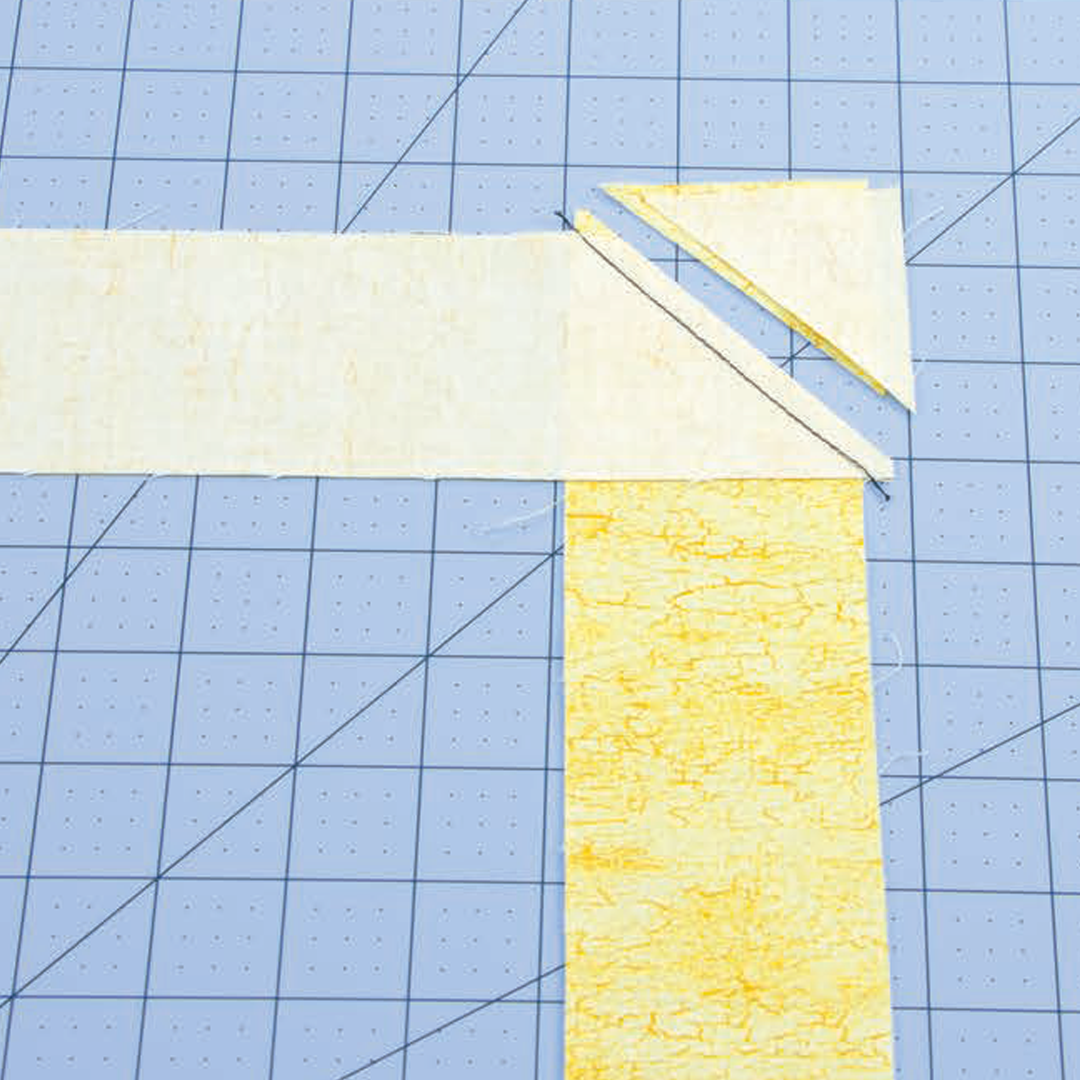
Step 4: Trim 1/4″ from the sewn line.
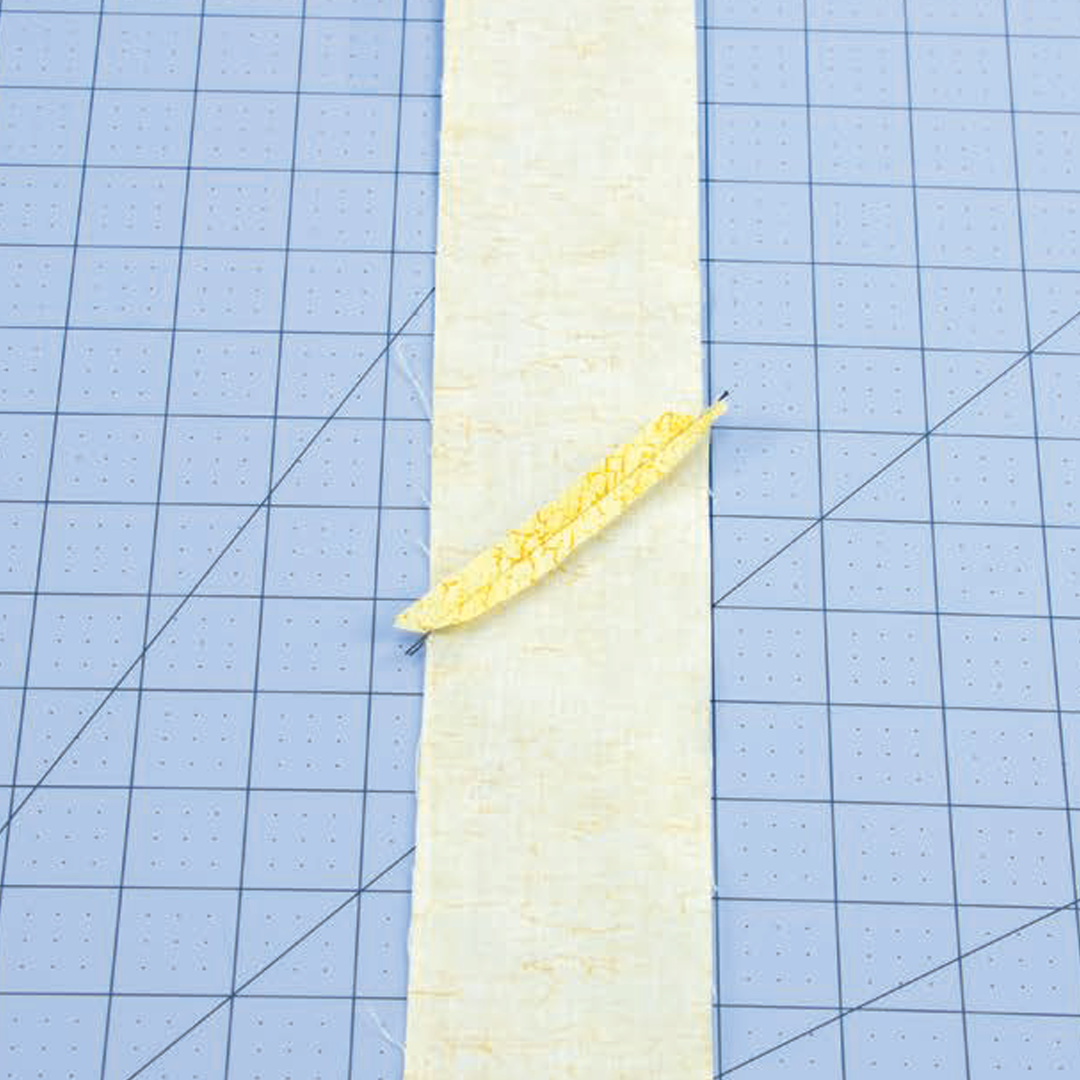
Step 5: Press the seam open. Repeat until all the binding strips have been joined into one continuous strip.
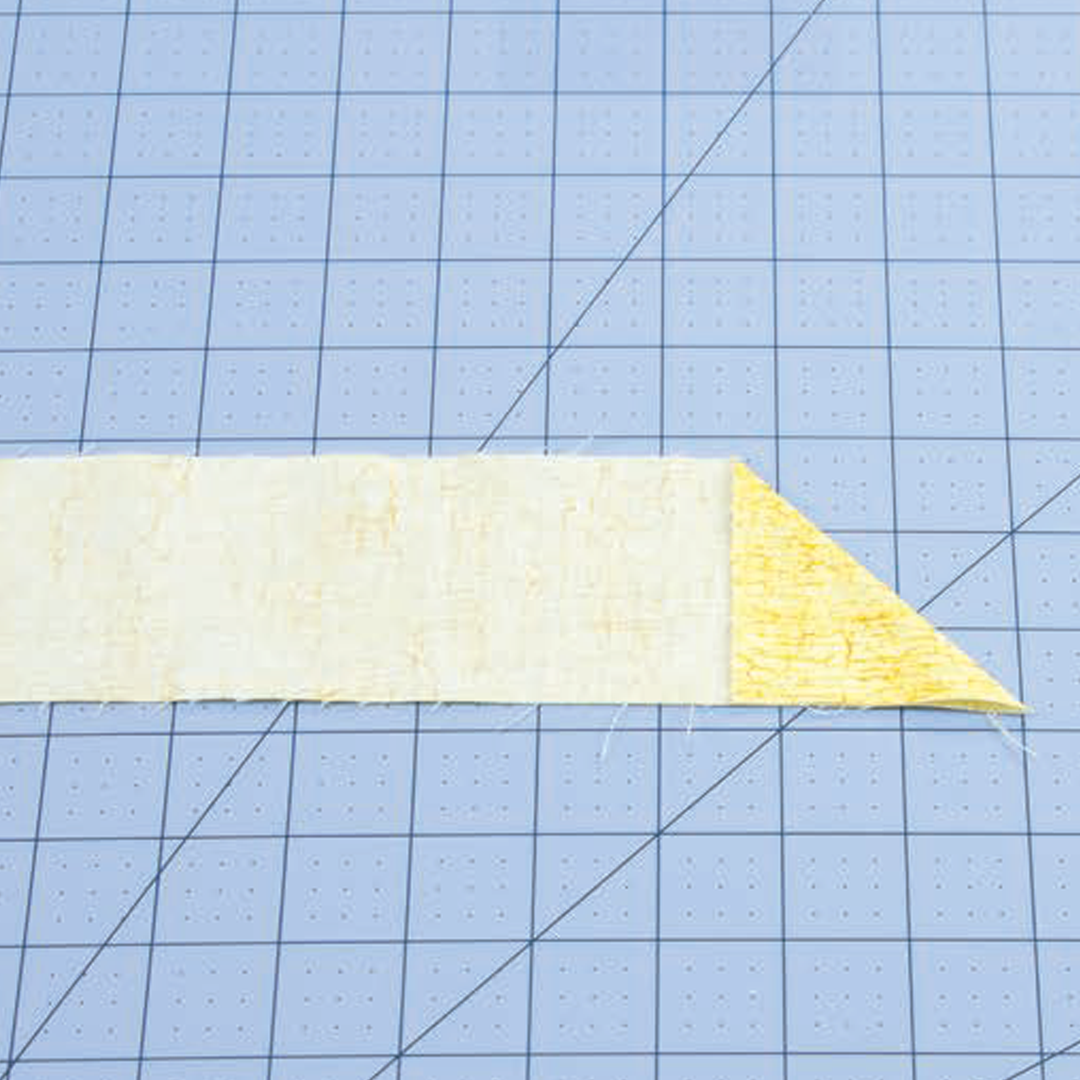
Step 6: Fold one end of the binding strip at a 45-degree angle and press.
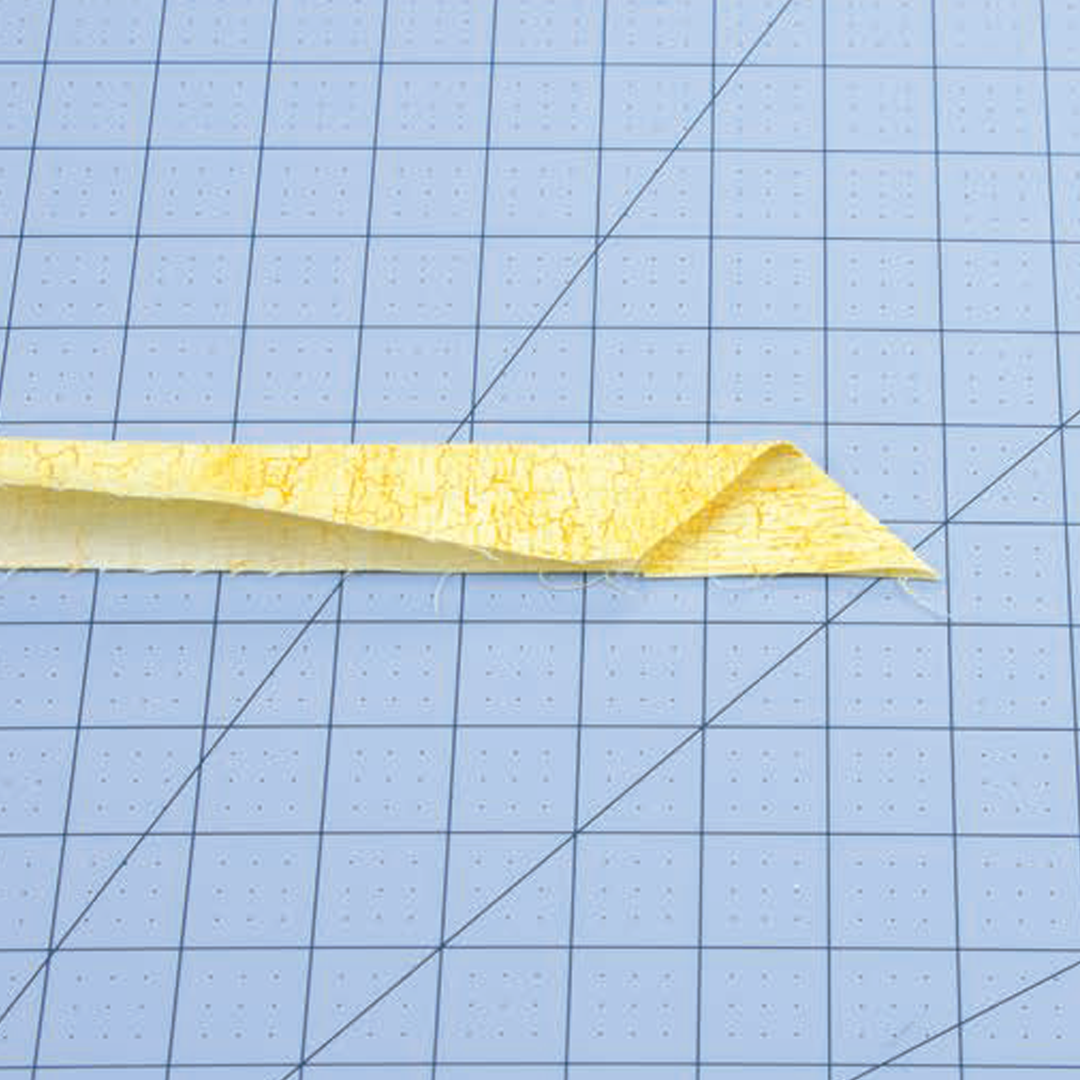
Step 7: Fold the binding strip in half along the long edge and press.


