
10 Quilt Tips & Tricks
By Penny Haren, Author of 101 Quilting Tips & Techniques
Regardless of your skill level, these quilting tips and tricks will make your quilting faster, easier, and better! I’m sharing some of my tried and true quilting tips and tricks from my handy pocket guide, 101 Quilting Tips & Techniques. Inside this 48-page book you will find everything from keeping your supplies clean to making design boards, and more! I’ll help you find ways to organize your sewing room to keep everything ready for your next quilt project. You will love these thread, tool, and fabric storage ideas as well as design organization and displays. My guide provides 101 great tips are for beginning quilters but also filled with new information for experienced quilters, there’s tricks for everyone to try! Scroll down below to sample 10 tips from 101 Quilting Tips & Techniques.

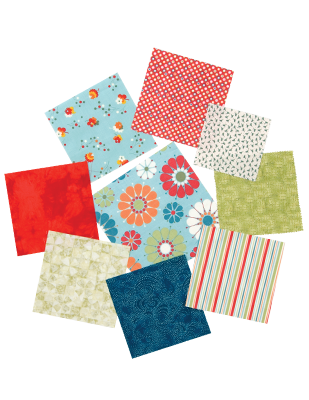
1. Organize Your Stash
Organize your stash by type rather than color. Then when you are ready to make a scrappy project, simply pull out the bin of country fabrics, batiks, brights, backgrounds, Asian prints, pastels, etc. and start cutting. Everything in the bin will go together!
2. Mark Your Machine
You own your sewing machine so you can deface it! When I have my machine serviced and the stitch is perfect, I mark the tension guides as the “default.” Have a favorite width for machine appliqué? Mark it with a permanent marker in an inconspicuous place.
3. Match the Lines
Place a ruler on the gridded side of your cutting mat. If the marks on the ruler line up with the lines on the cutting mat, it is okay to use cutting mat markings as guides when rotary cutting.
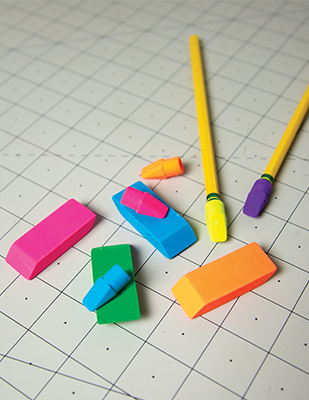
4. Clean Your Mat
Use a rubber eraser to clean your rotary cutting mat. When cutting fabrics—especially flannel, fleece, and Cuddle® fabrics, fibers become embedded in the cuts made with the rotary cutter so the mat can’t “heal.” A rubber eraser removes all of these fibers so the mat will last much longer.
5. Stack Strip Sets
When sub-cutting eight layers at time, be sure to stack your strips on the mat. By stacking six sets of eight 2½” (6.35cm) strips on your mat, for instance, you can cut out 48 pieces every time you move your ruler!
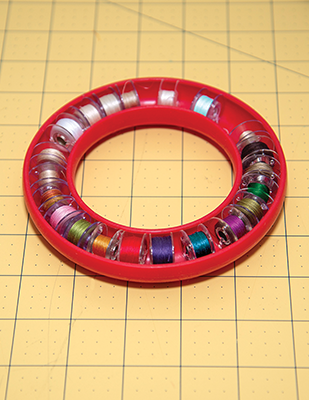
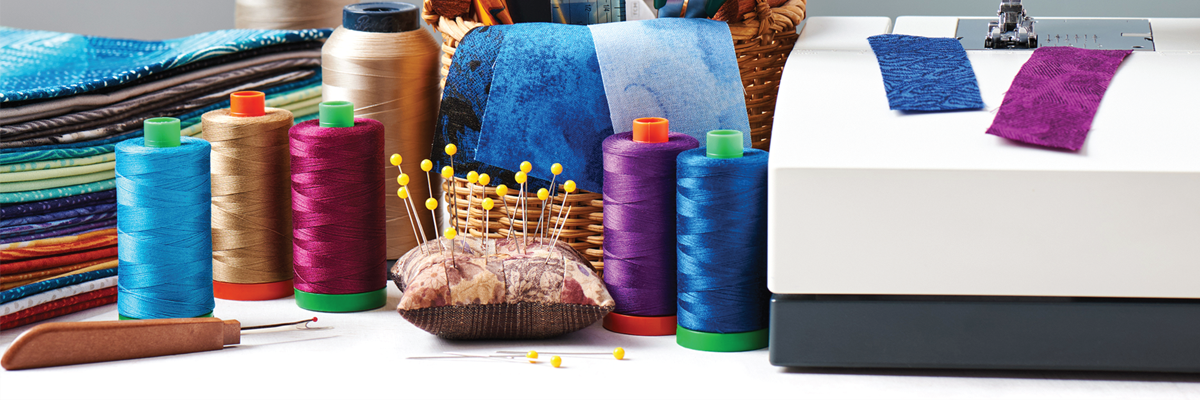
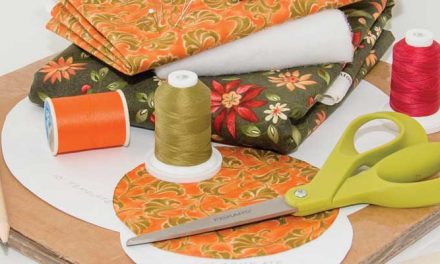
6. Save Your Bobbins
Wind bobbins with matching threads for your handwork. A bobbin saver holds up to 20 bobbins and fits around them snuggly so they don’t unwind.
7. Chose a Quilt
When choosing a quilt, consider the time involved. That border with over 400 appliquéd leaves may be stunning—but will it turn into a UFO and stop you from finishing the quilt? Will a simpler pieced border be just as effective? The choice is yours.
8. Use Directional Prints
When choosing fabrics for a project, be aware of directional prints. You may have to cut them one layer at a time to retain the design. Make sure it is worth it!
9. Cut the Length of the Fabric
Cutting borders parallel to the selvage means that they can be cut without piecing. An added bonus? There is absolutely no stretch to the length of the fabric so cutting borders the length of the fabric is a great way to stabilize quilts that are set on point.
10. Bind with Scraps
Save scraps of binding. When making scrap quilts, piece these scraps together to bind the quilt. Who doesn’t love a free binding?
Shop More Quilt Books


