
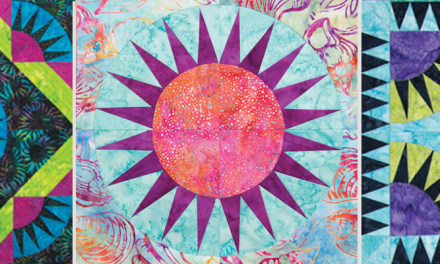
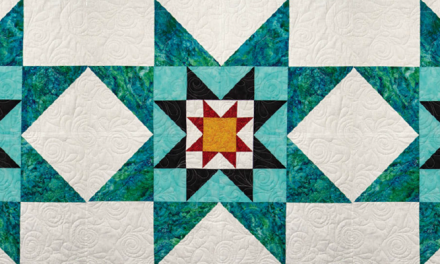
Make a Scrappy Quilt with Strip Quilt Panels
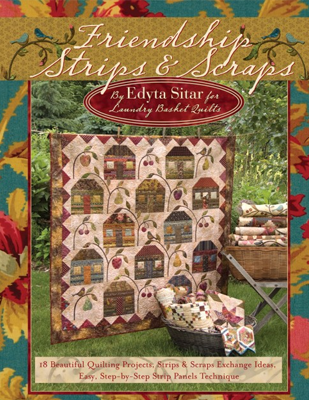
By Edita Sitar, Friendship Strips & Scraps
Strip panels are easy to make and a great way to use all those leftover strips and fabric scraps. See Edita Sitar’s tips below for creating unique strip quilt panels. Share strips with friends to achieve a beautiful one-of-a-kind color scheme.
Use up your strips, stash, jelly rolls, even down to your smallest scraps, with these beautiful, easy-to-follow designs in Friendship Strips & Scraps. Inside you will find:
- 18 gorgeous projects for quilts, table toppers, a table runner, and wall hangings
- Step-by-step instructions for techniques on creating strip panels and fusible appliqué
- Hundreds of photos, diagrams, and illustrations take you through the projects
- Tips on planning a successful Fabric Strip Exchange
Jelly Roll & Scrappy Giveaway
Use up your scraps with the Jelly Roll & Scrappy Giveaway! Win five Moda Fabric Jelly Rolls and three great reference books. Ends October 31, 2019.

Follow these steps to create Edita’s scrappy quilt panels:
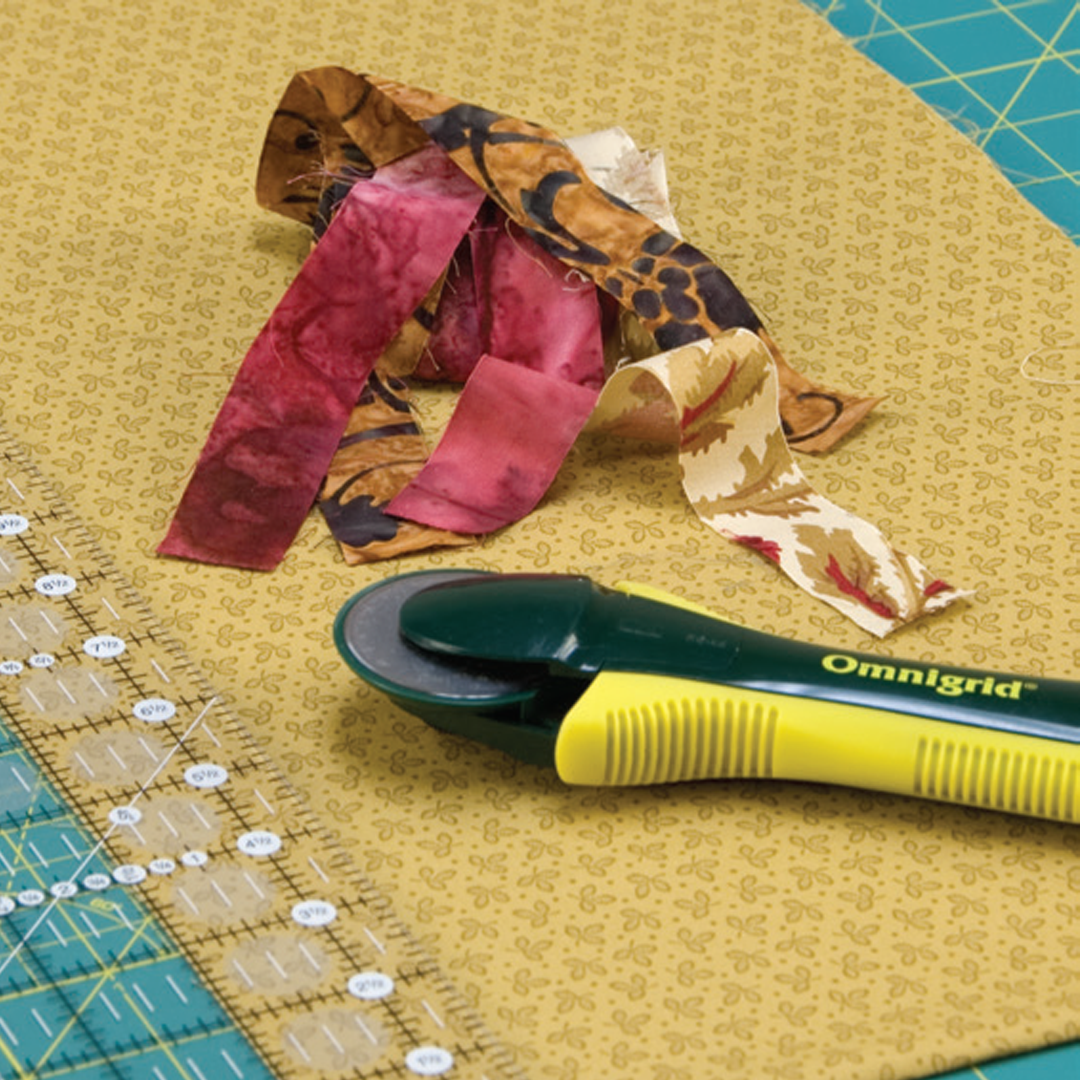
Straigthen fabric edges before cutting your strips. Cut fabric strips between 1” and 2-1/2” wide. Vary the width of the strips if desired. Always cut from selvage to selvage. Due to the differences in fabric width, the length of your strips will be between 40”
and 44”.
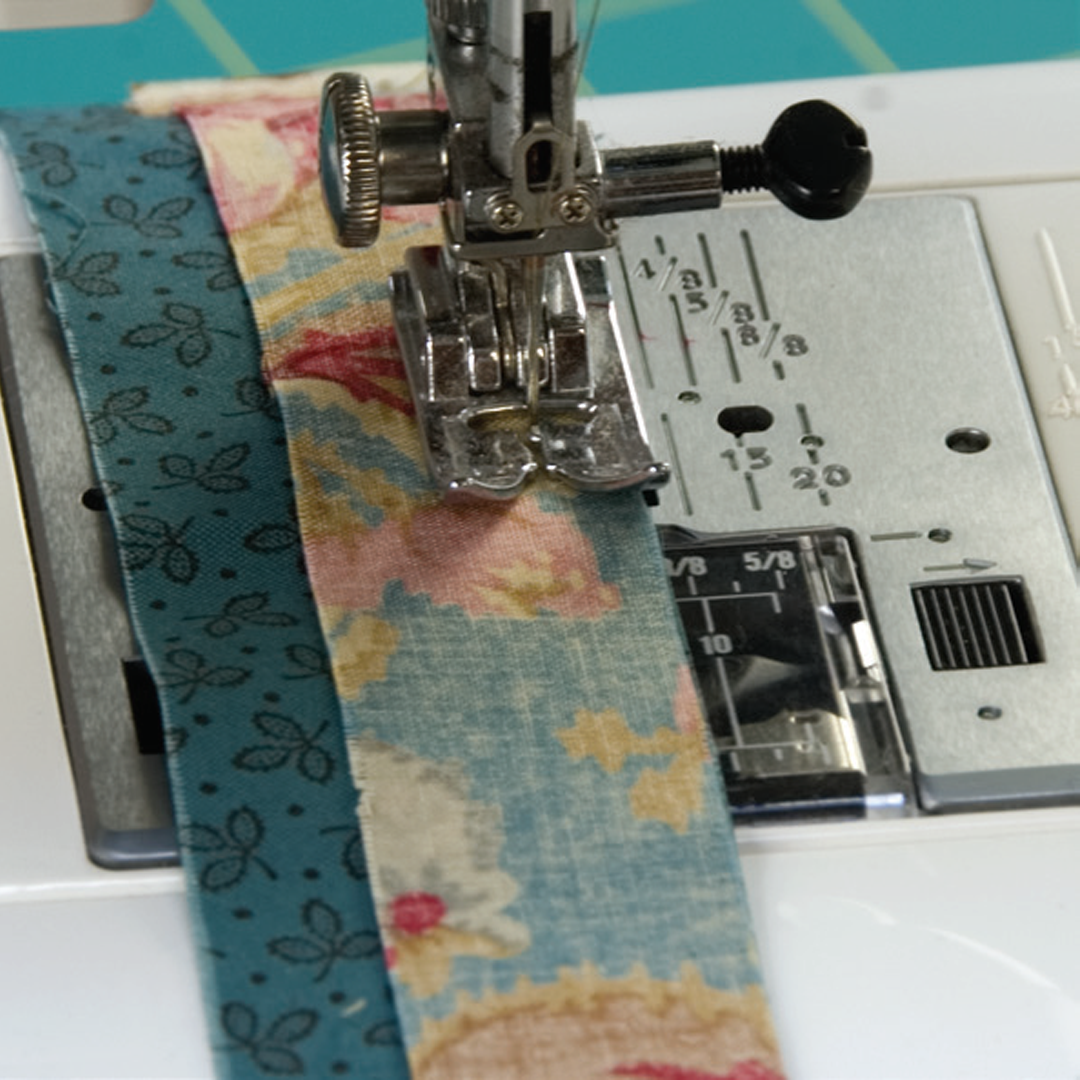
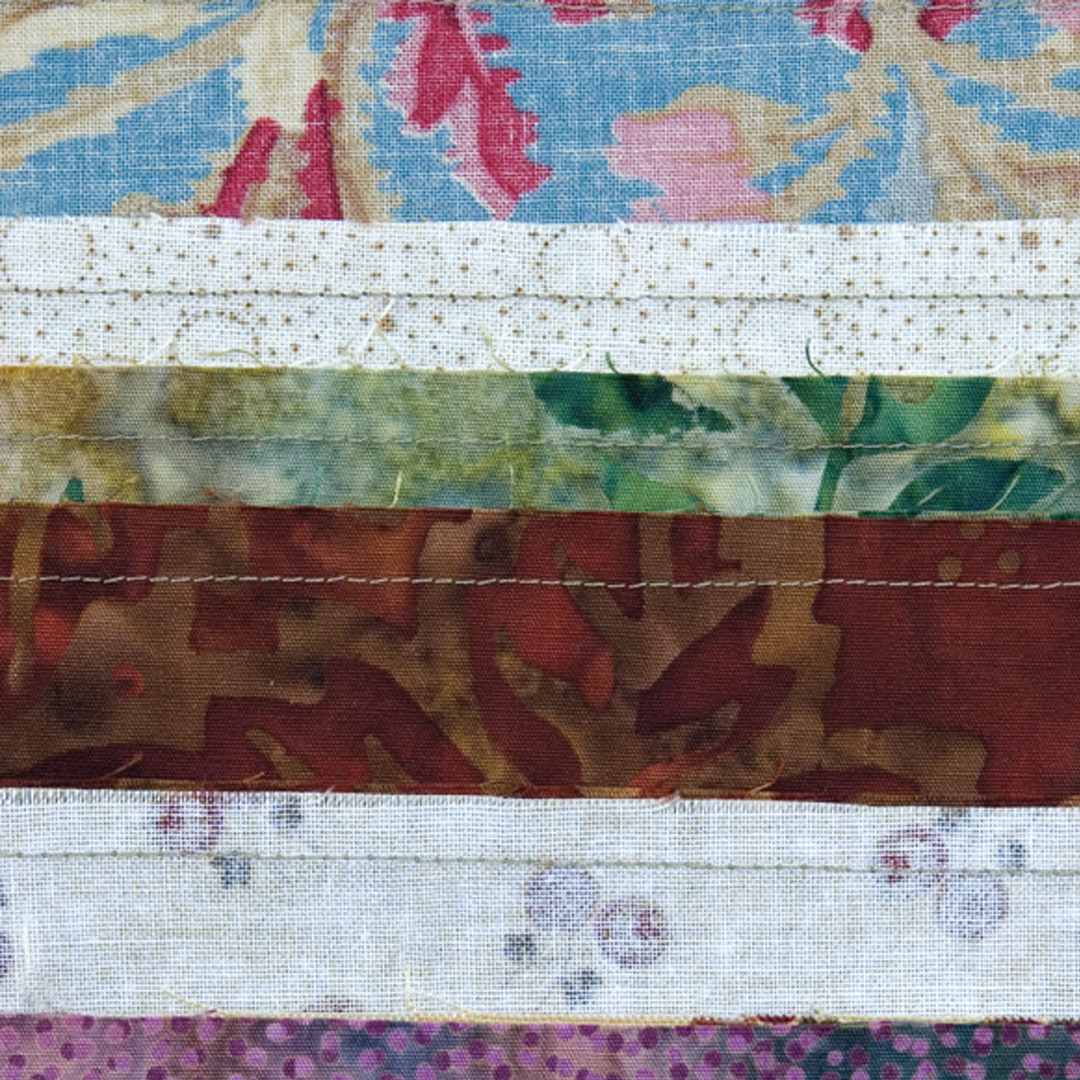
Layer two strips, right sides together and sew along one long edge, using a 1/4” seam allowance. Press the seams in one direction.
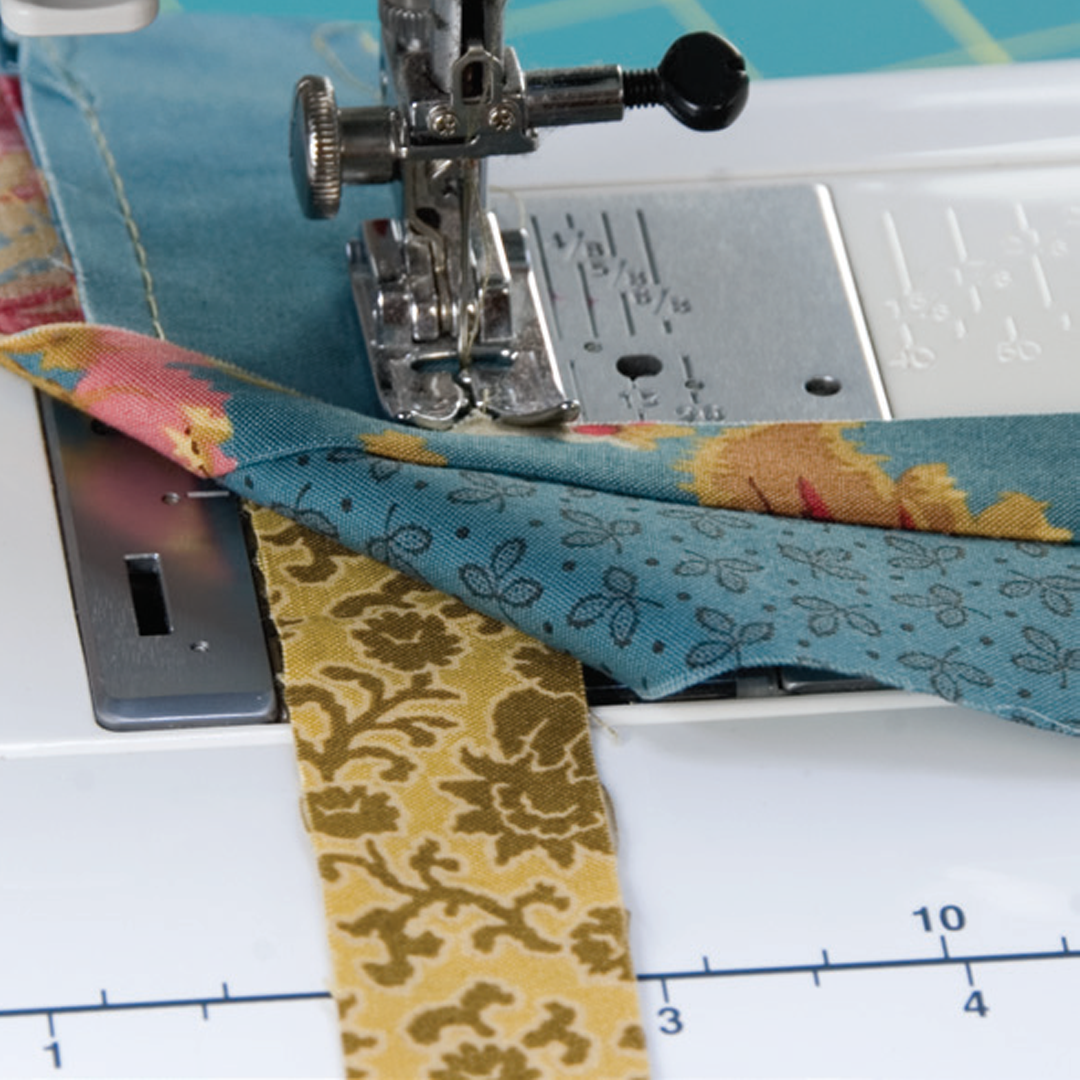
Continue adding strips to the strip panel, aligning long edges and alternating the direction they are sewn together. Press all seams in the same direction.
Place the first string right side down. Place a second-string right side down on the first string, aligning the right raw edges. Open the string and press. Continue adding and pressing the strings. Fold the background fabric open as you add
strings to make sure the entire background area is covered. Add strings to cover the adjacent corner. Fold the strings back and trim the background fabric.
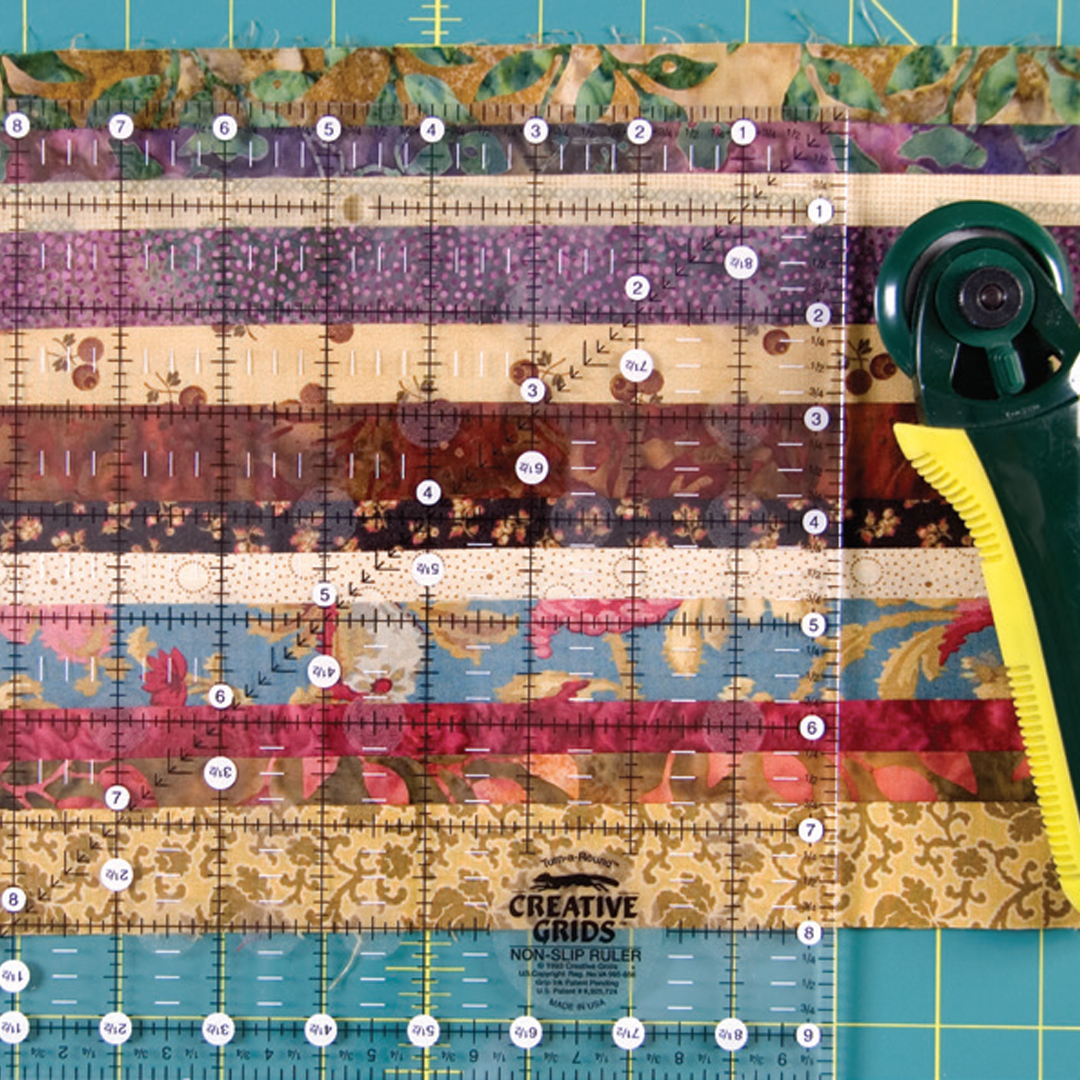
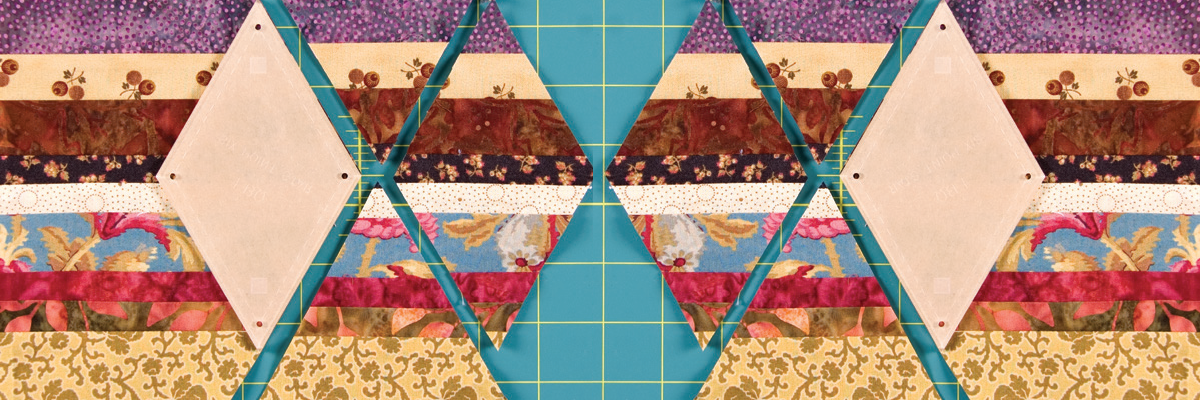
The final strip panel should be no larger than 18” x approximately 40”-44” (fabric length will vary). A strip panel this size is easy to sew and will accommodate any of the shapes and templates you need to cut. If you have chosen a project, the strip panel should be approximately 1” larger than your block or template size. With your ruler cut out the size of blocks needed for your project.
If using a template, lay the chosen template over the strip panel. Be sure the tip of the template is not laying on a seam line. Cut around the template to create the shape needed for your project.
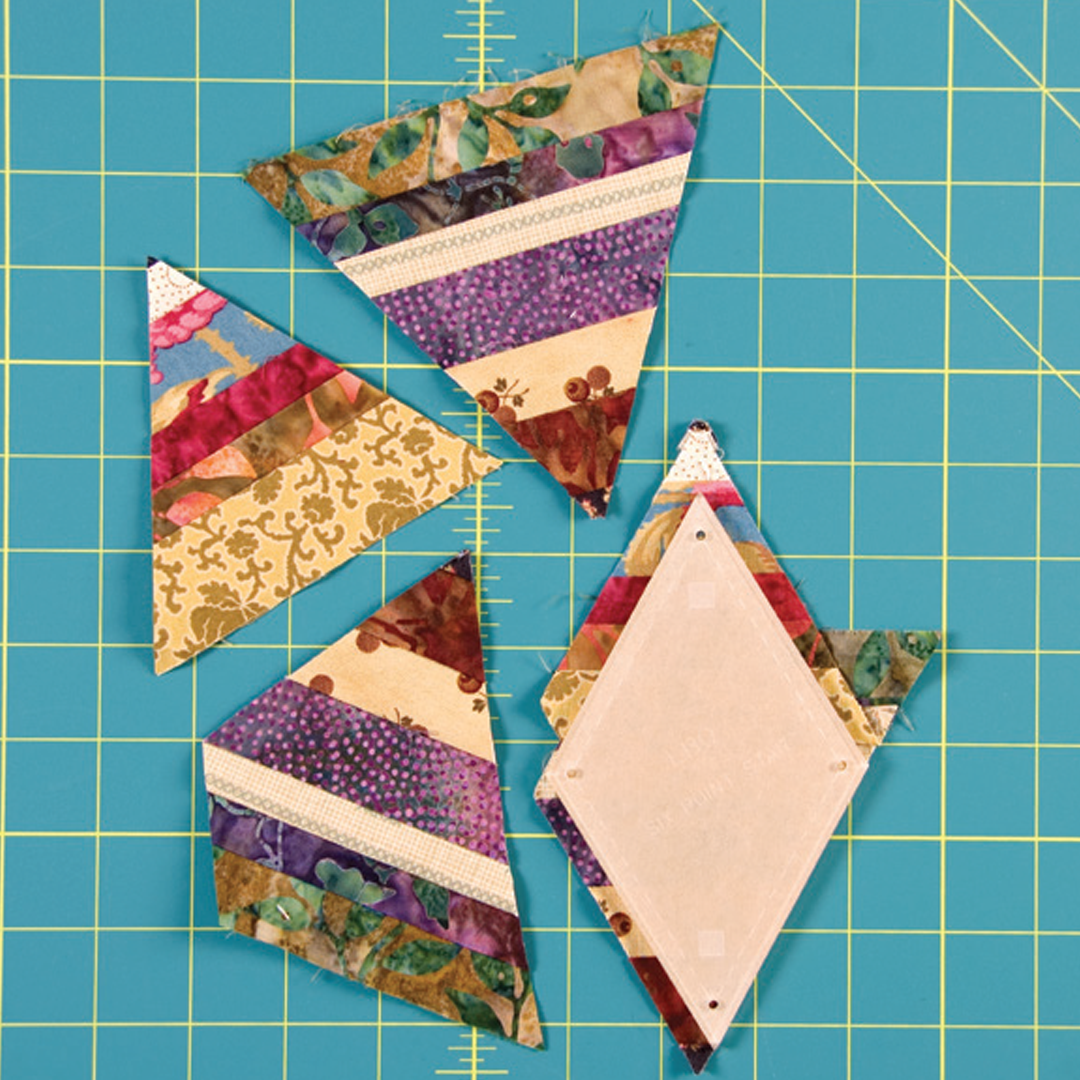
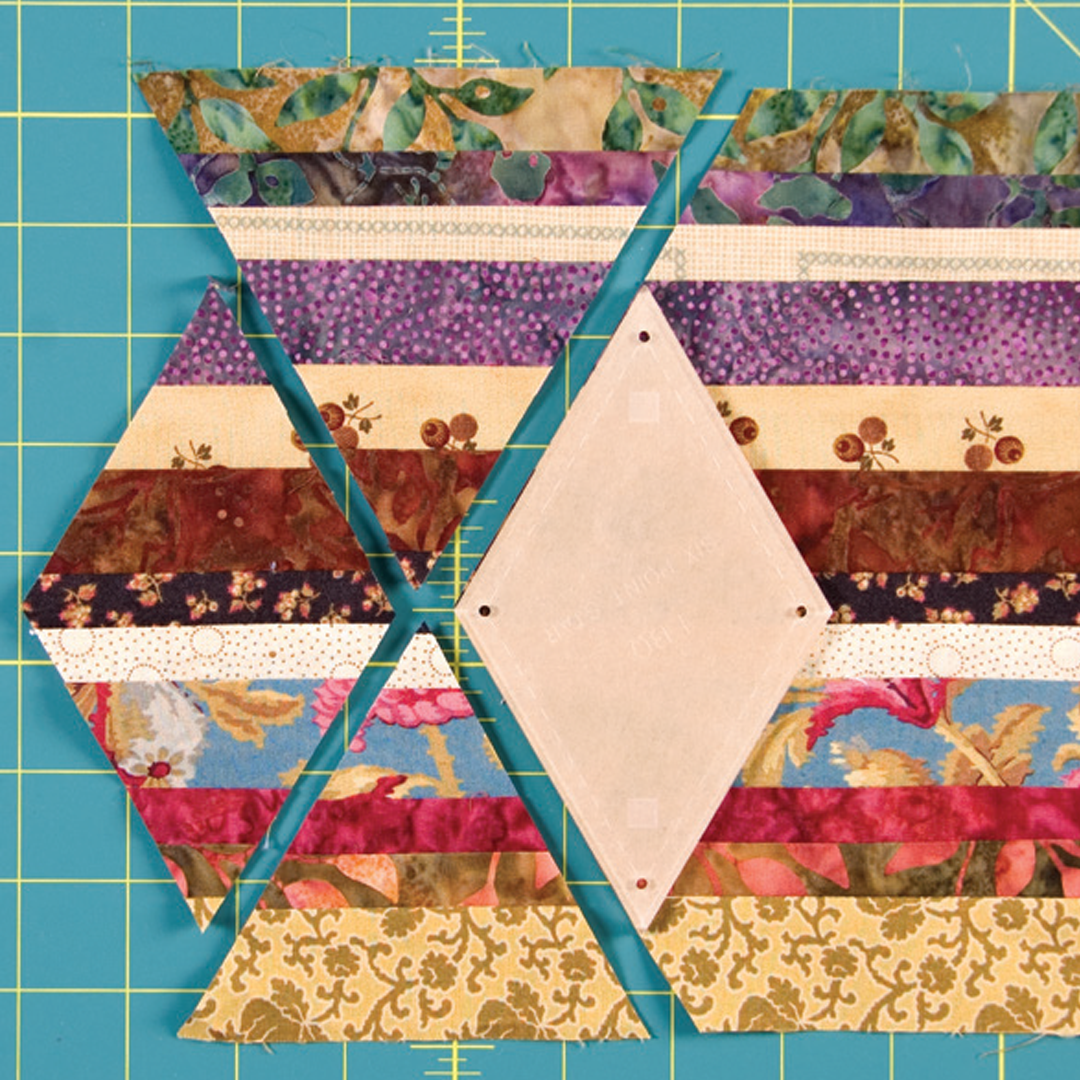
Use every bit of the strip panel by taking the triangles left over from cutting the diamonds and piecing them, right sides together. Press open and place the diamond template on top. Cut around the template to create another diamond.
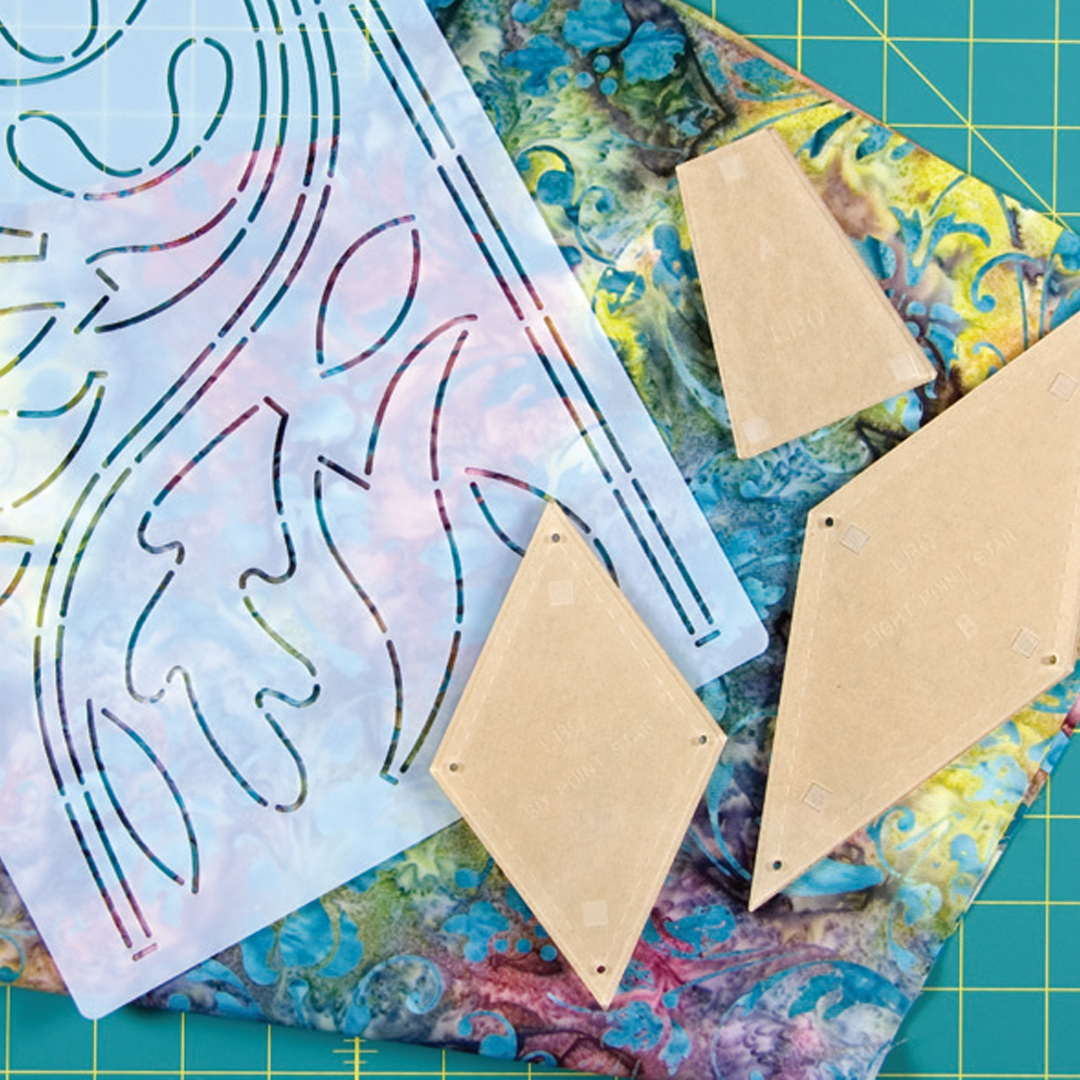
Full-size templates for each project may be found in Friendship Strips & Scraps.