
Mandala Candle Mat Quilt Project
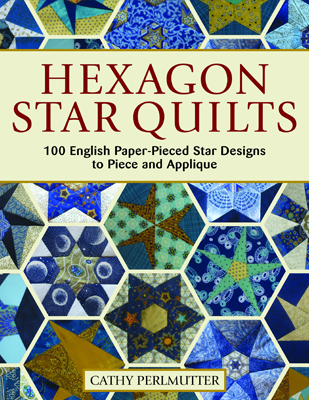
By Cathy Perlmutter, Hexagon Star Quilts
Quilted stars are beautiful and impressive, but piecing them can be quite a challenge. Conventional piecing requires precision, and Y seams are an ordeal. That’s where English paper piecing, or EPP, comes in. This seventeenth-century British technique makes creating stars much easier. There’s less math, and Y seams are a breeze. Imperfect seam allowances are a non-issue. And even if you want to pin, you can’t! Throughout my book, Hexagon Star Quilts, I feature stars inside hexagons. Hexagons and other shapes made up of 60-degree angles create fascinating optical illusions of depth, and they fit together in wondrous ways. Enjoy a sample of my book below with this free quilt project.
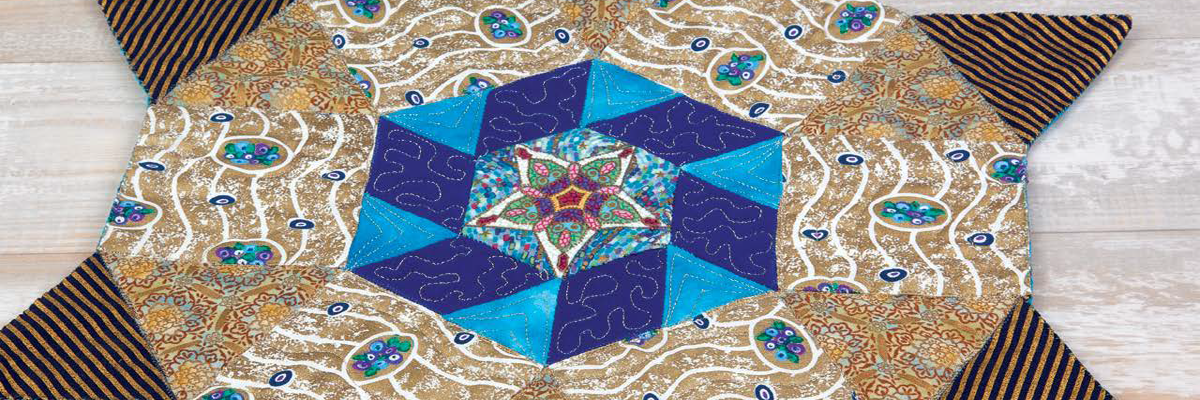
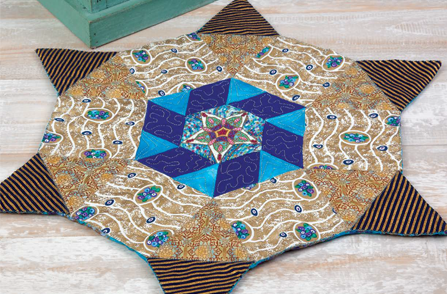
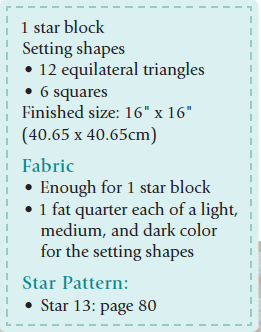
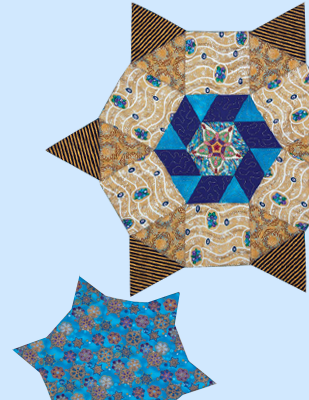
This project, Mandala Candle Mat Quilt Project, requires very little fabric, making it an ideal scrap project! You only need to make one-star block; I used Star 13 (download star 13 and a bonus star pattern below), but you can use whichever one you like. For the central hexagon, I fussy-cut a printed star, and I fussy-cut the stripes in the outer triangles, so they’re all angled the same way.
Hexagon Star Quilts Project Steps
2. Cut the shapes from your printouts. Use those paper shapes to cut six oversized fabric triangles from the darkest fabric, and six more triangles from the medium fabric. Cut the squares from the lightest fabric.
4. Following the diagram on this page, stitch a basted square to each side of the central block’s six edges. In each corner, insert six equilateral triangles.
6. Here are your finishing options:
Appliqué the formation to a square or rectangular piece of fabric. In that case, it can easily be finished with a standard quilt binding.
If you want to preserve the uneven edge, follow the directions on pages 40–41 in my Hexagon Star Quilt Book, which is what I did with this quilt. You’ll be stitching the front to a same-shape backing.
7. As you can see in the photo, I did some free motion stippling in the center block and wavy lines tracking the print in the squares. I quilted next to the seam lines inside the medium equilateral triangles to define the shapes.